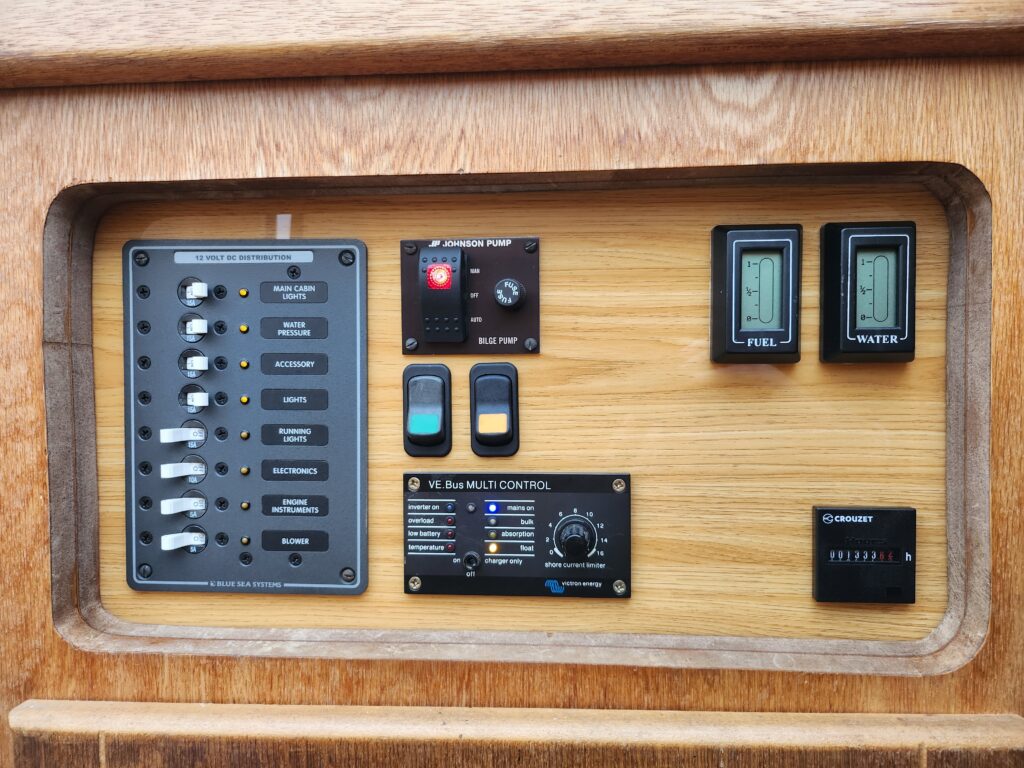
This is a view taken in August 2022 of the Domestic Control panel. Originally there were just four things on it:
- The BlueSea Distribution Panel
- The Victron Multibus controller
- The Johnson Bilge Pump switch
- The Webasto timer
I added the Fuel and Water gauges later, see here .
The green switch is for the Navigation lights, if I ever get around to fitting them. I have installed the wires but not the lamps.
Apart from where I squeezed in the Nav lights switch, there is no room for any other panels or switches.
Also the Webasto control is largely useless – See here.
And the panel itself was made from 20mm MDF, making switches and instruments difficult to fit.
So a while ago I decided to replace the panel, and finally did that in October 2023.
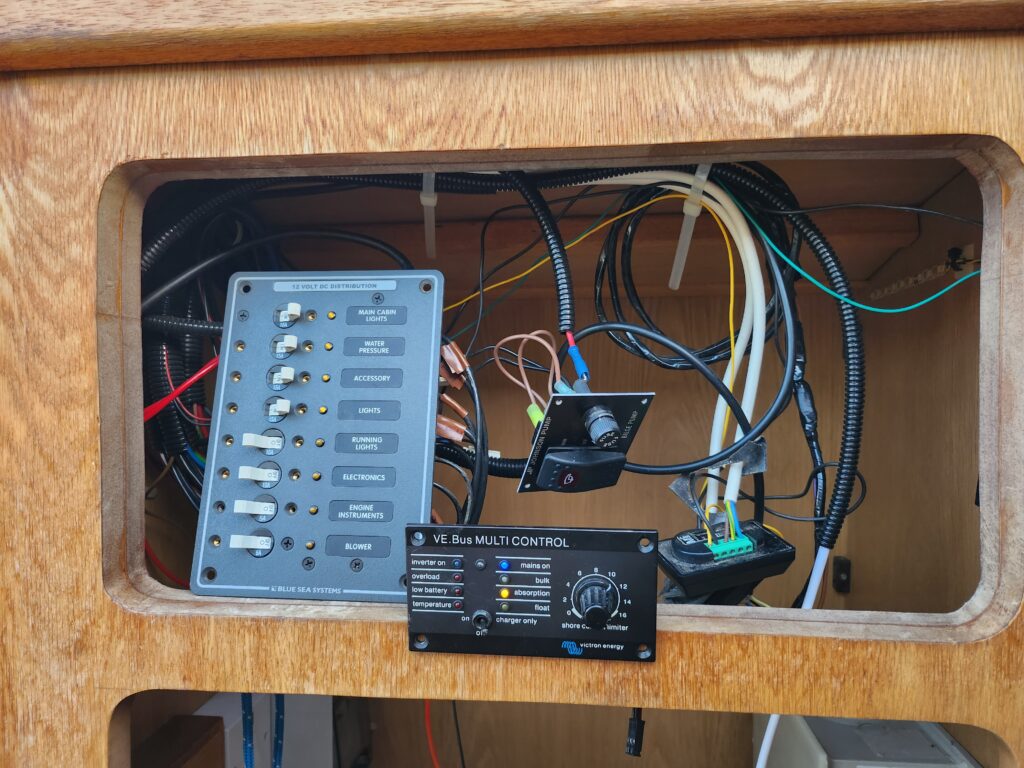
I wanted the new panel to be strong, much thinner, and look like light-oak – same as the rest of the boat. I also wanted it to be spaced back another 20mm or so I could potentially fit a cover. (If I fitted a cover on the existing panel it would hit some of the switches). So I decided to simply cut around the original panel and use it as a “spacer” for the new panel. You can see here the old wooded panel removed and its edge sanded to make the spacer.
I found this company, a part of Rothco and Frost Ltd who make sheets of wood-effect acrylic.
It looked just the job, but didn’t look strong enough to support all the switches and displays, especially if someone “leans” on the console.
So I ordered a sheet of 2mm thick aluminium, cut to 500mm x 300mm, from here:
and then glued the two sheets together using heavy weights to keep them under pressure. Making a very strong laminate panel.
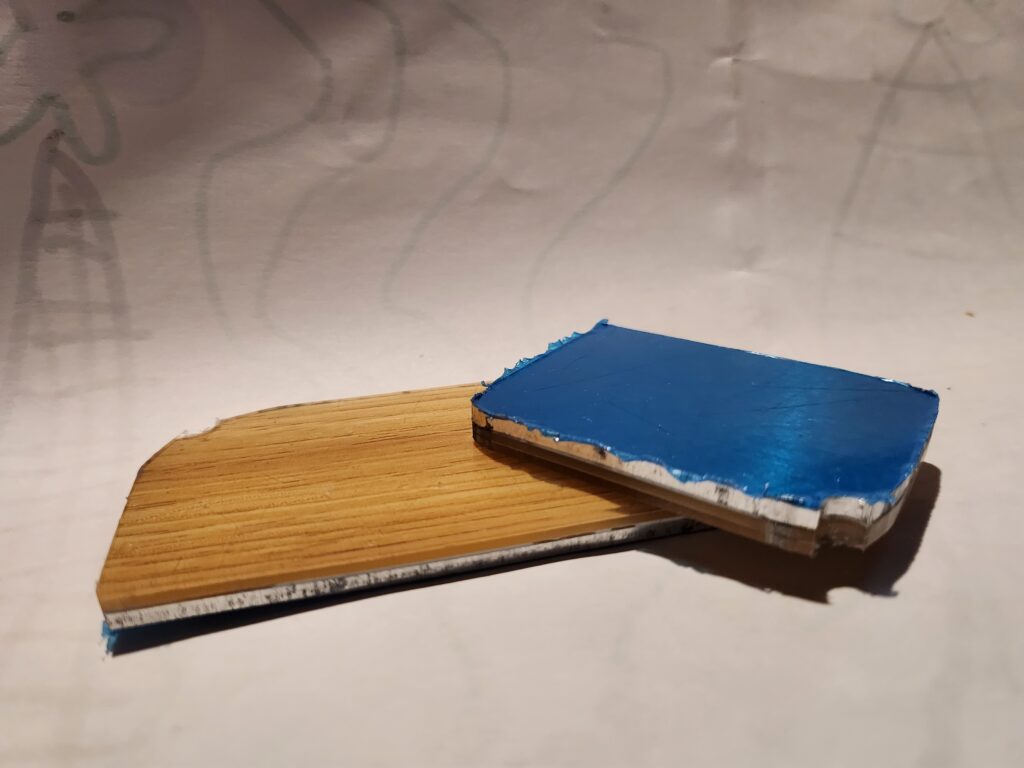
Here is a view of a couple of the cut-outs from the panel. You can see the 3mm acrylic sheet on the top and the 2mm Aluminium sheet glued to it. The back of the Aluminium sheet has a blue plastic cover on it which I kept, as it stops any stray wires shorting out on the panel.
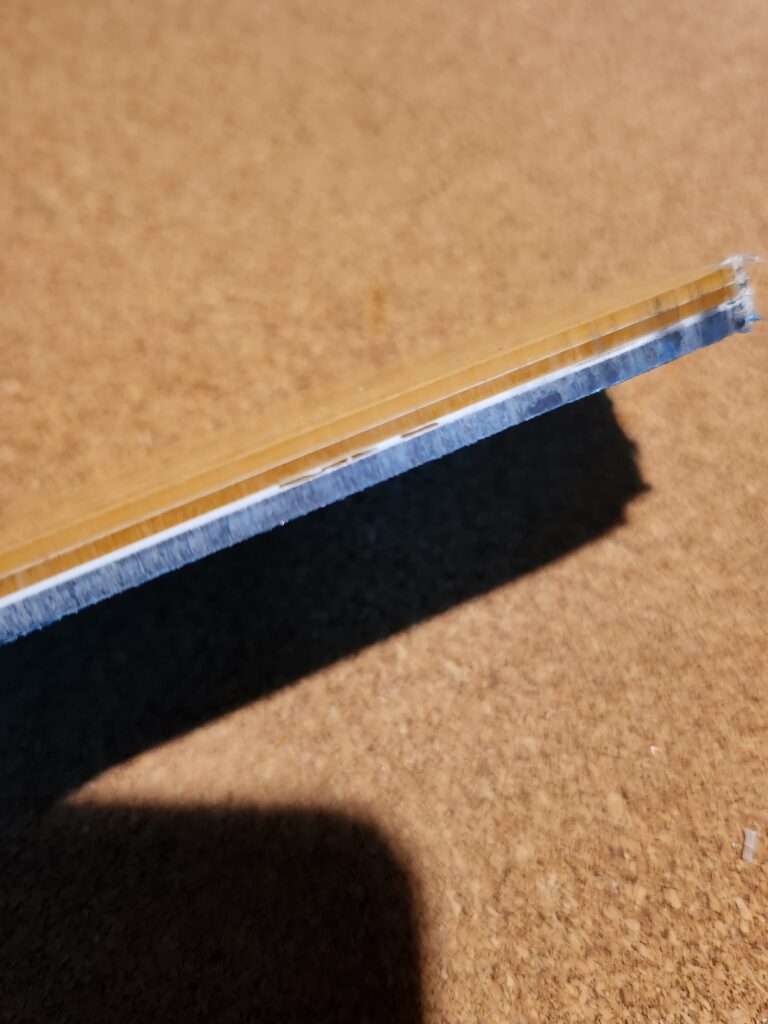
Here is another shot of the laminate seen end-on. You can make out the 3mm acrylic sheet (which appears to be made itself from two 1.5mm sheets), the white glue line and the 2mm aluminium sheet at the bottom.
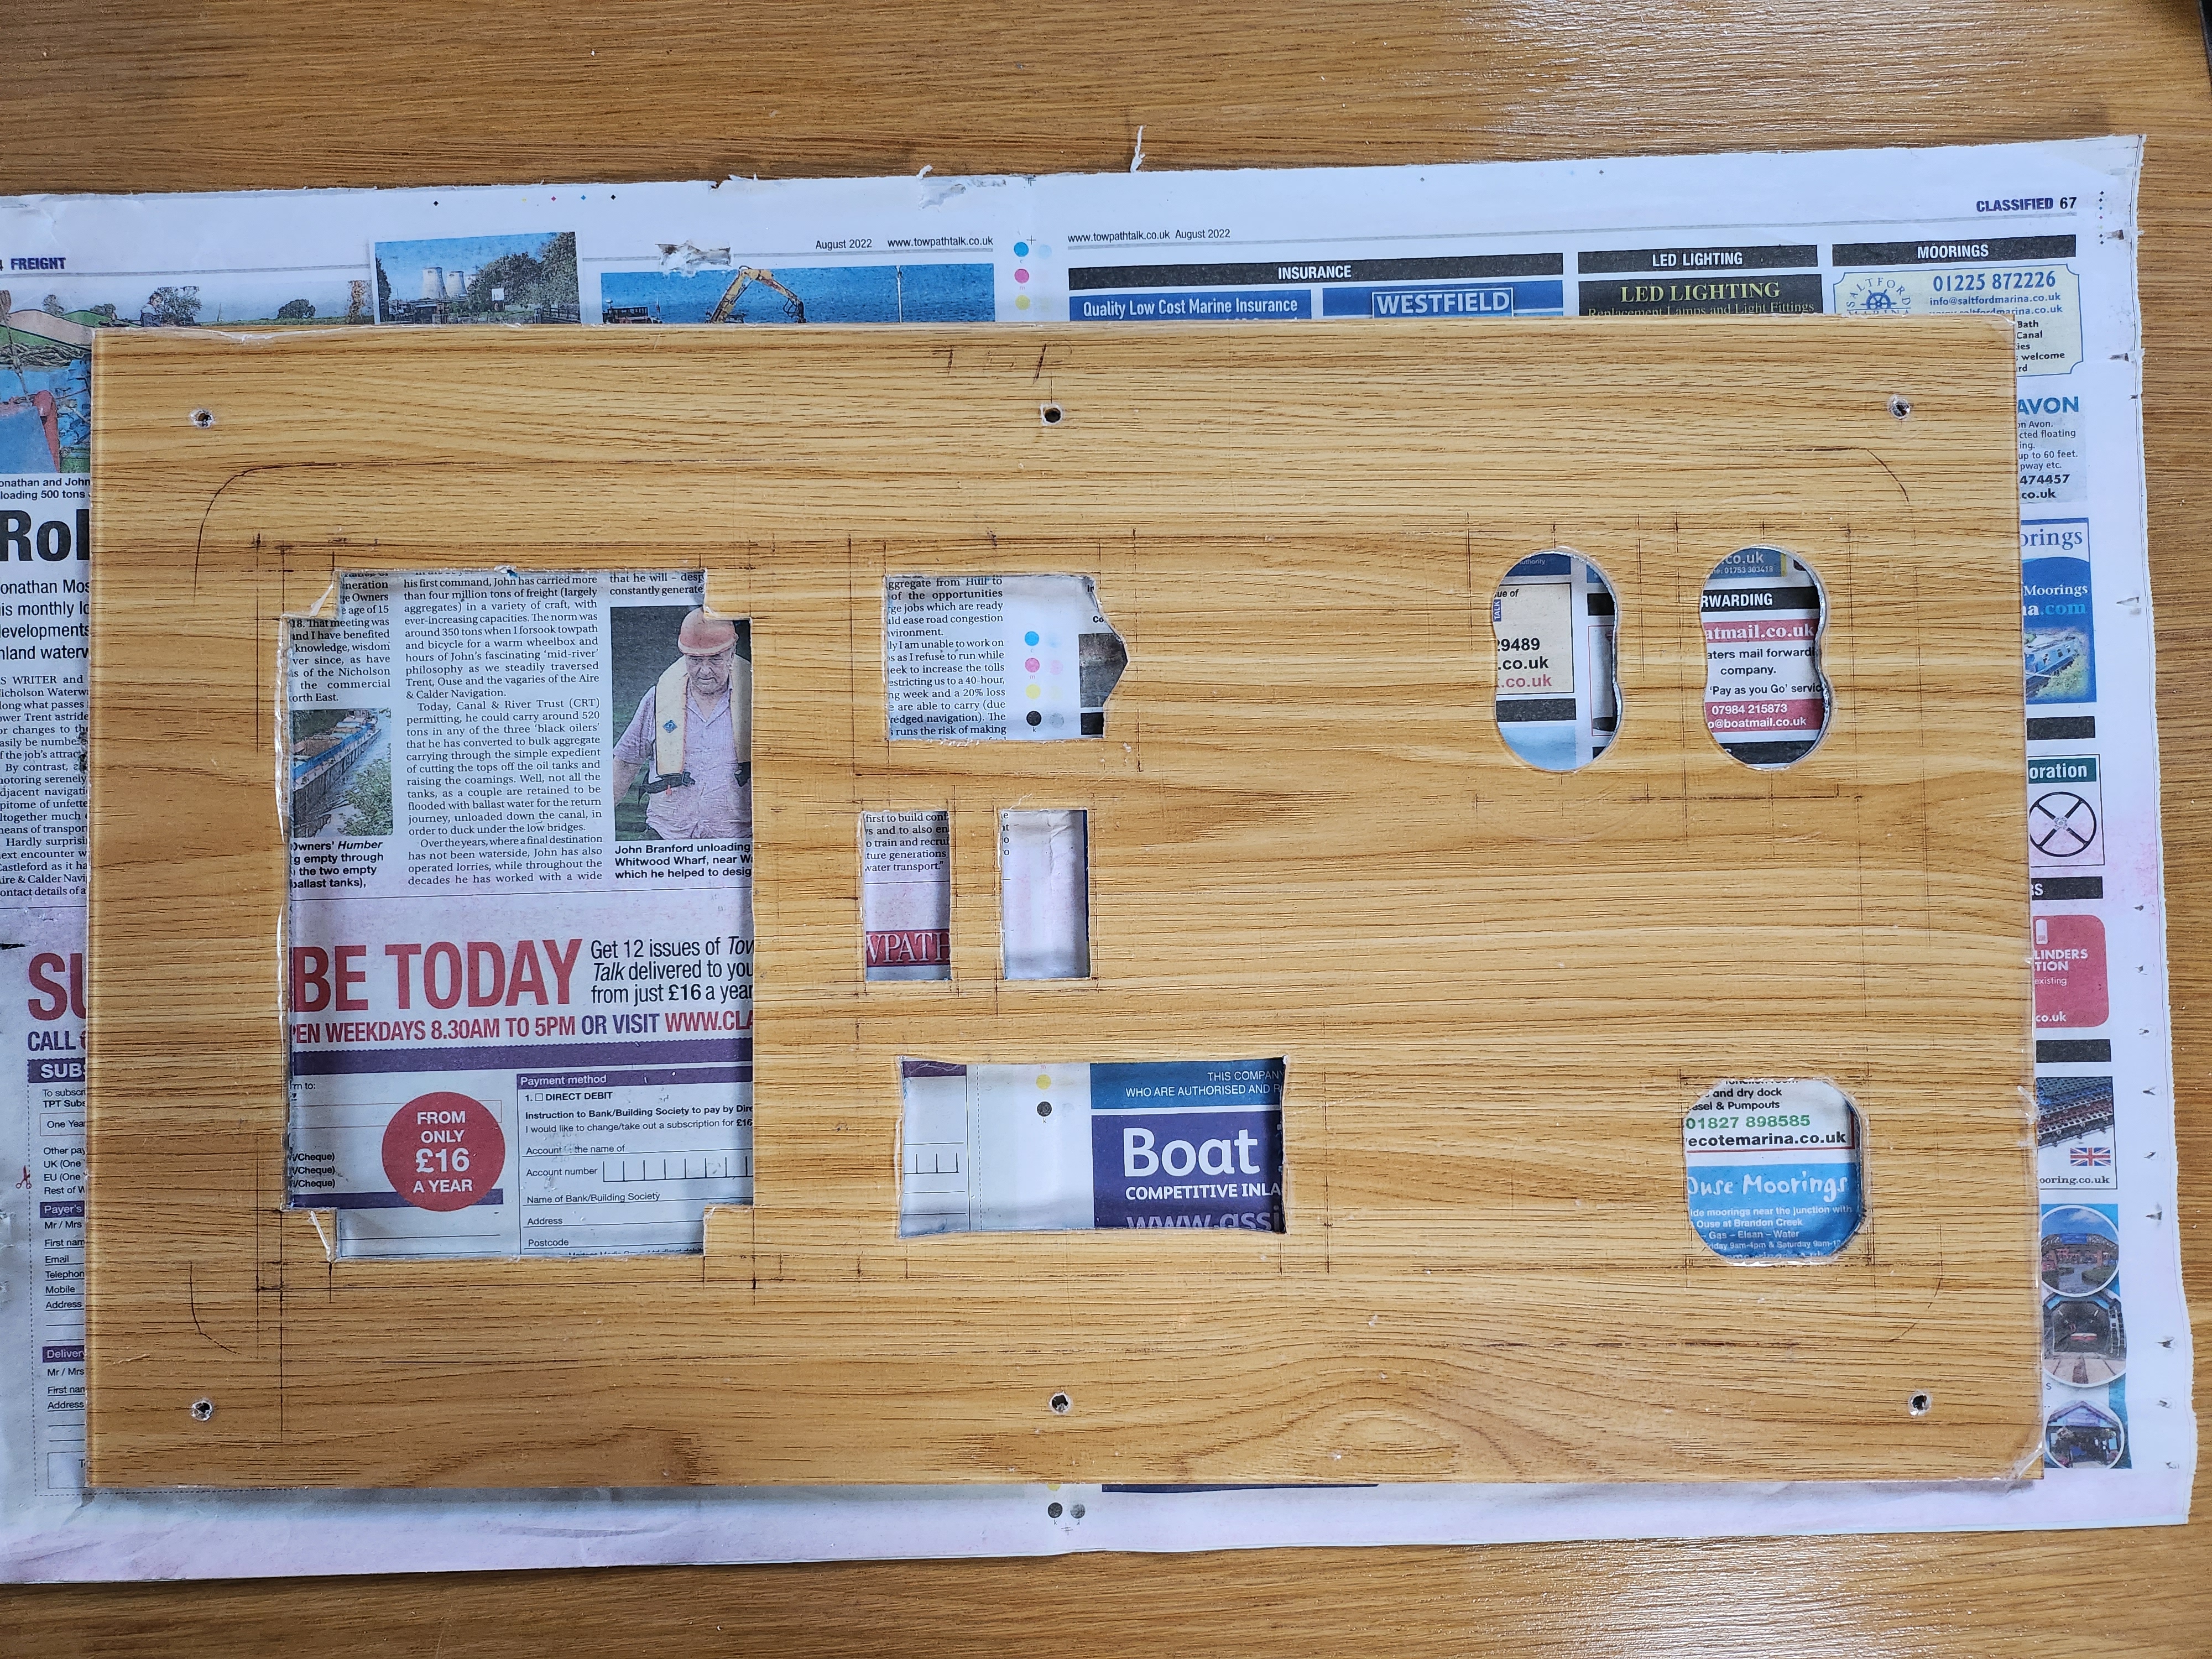
The acrylic arrived covered by a removable plastic sheet that protected it while I marked it, drilled and cut it.
This is the finished panel, lying on a sheet of newspaper, lying on a light oak table.
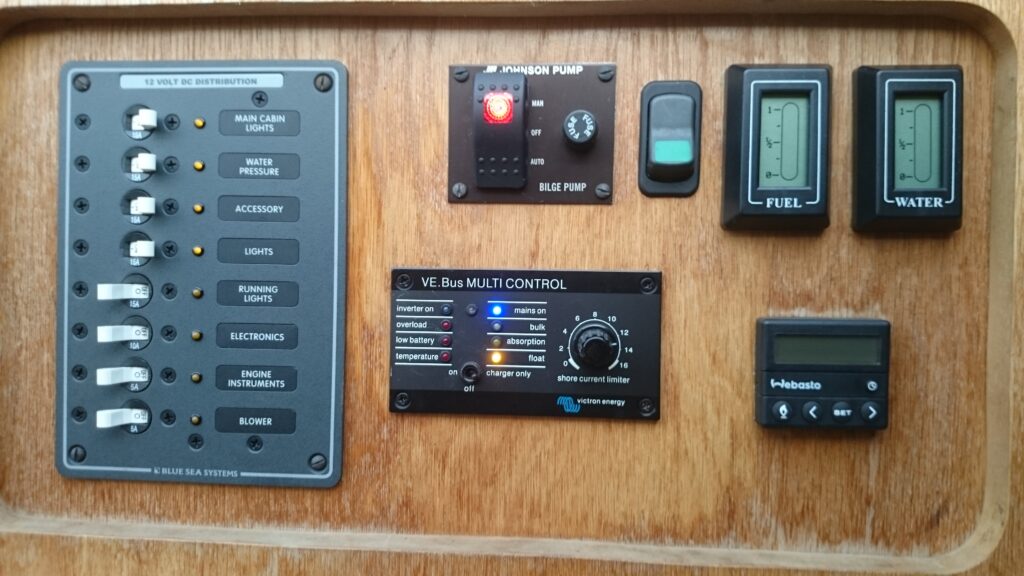
The finished panel, set back 20mm, with a new layout leaving room for new panels and switches.
Note: the Webasto control has gone, replaced with a new Engine Hours meter. And a new (orange) toggle switch for the Deck lights.